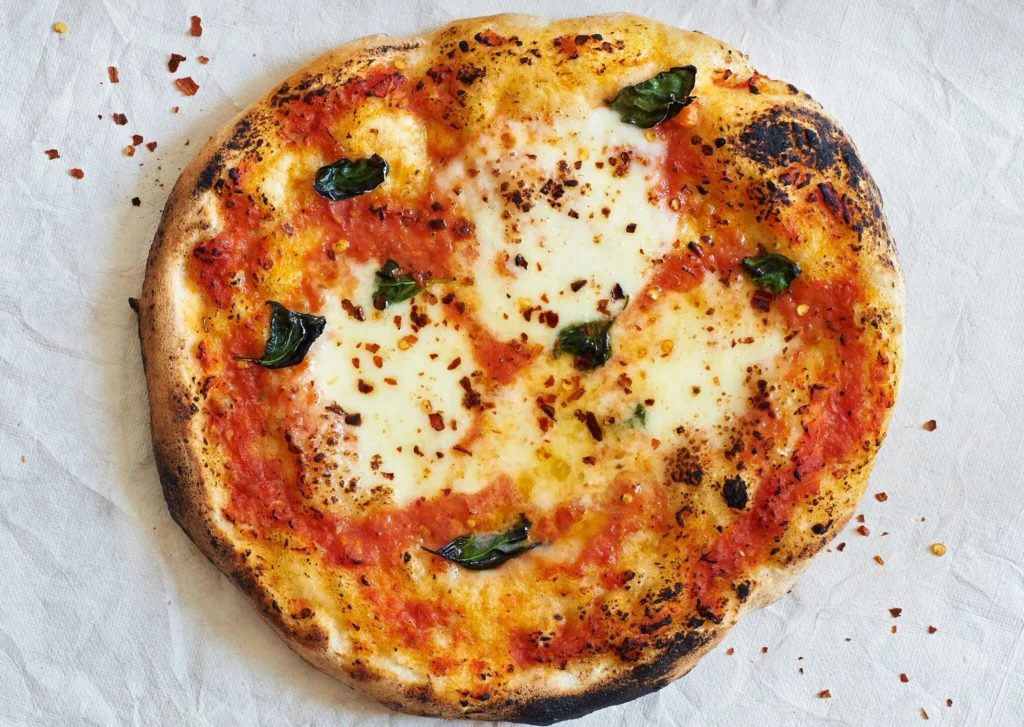
From dough to saucing and toppings, never make a bad pie again. Here’s a New York-style pizza crust recipe that will give you that iconic chewy, slightly crispy crust with the perfect fold. This dough recipe focuses on hydration and gluten development, key elements for getting the right texture.
You can make pizza at home. In fact, you can make pizza that will equal some of the best on the planet. With planning and practice, you can become good at it — even if you are a relatively novice cook. We are here to help that happen.
Before You Start
-
Plan ahead. Make the dough at least a day before you intend to make pizza, to give it enough time to rise.
-
Buy a food scale on which to weigh the ingredients for dough and toppings. It’s a smart investment: In baking, weight is a more accurate measurement than volume.
-
You will need a cooking surface. This could be a pizza stone or steel, or four to six unglazed quarry tiles measuring 6 inches by 6 inches from a building supply store. Whichever you use, heat in a very hot oven for at least an hour before cooking.
Recipe: Roberta’s Pizza Dough
Storing the Dough
Allow for a minimum of three to four hours for your dough to rise. But planning further ahead pays dividends: You can store that dough in the refrigerator until you are ready to cook, which means any weeknight can be pizza night.
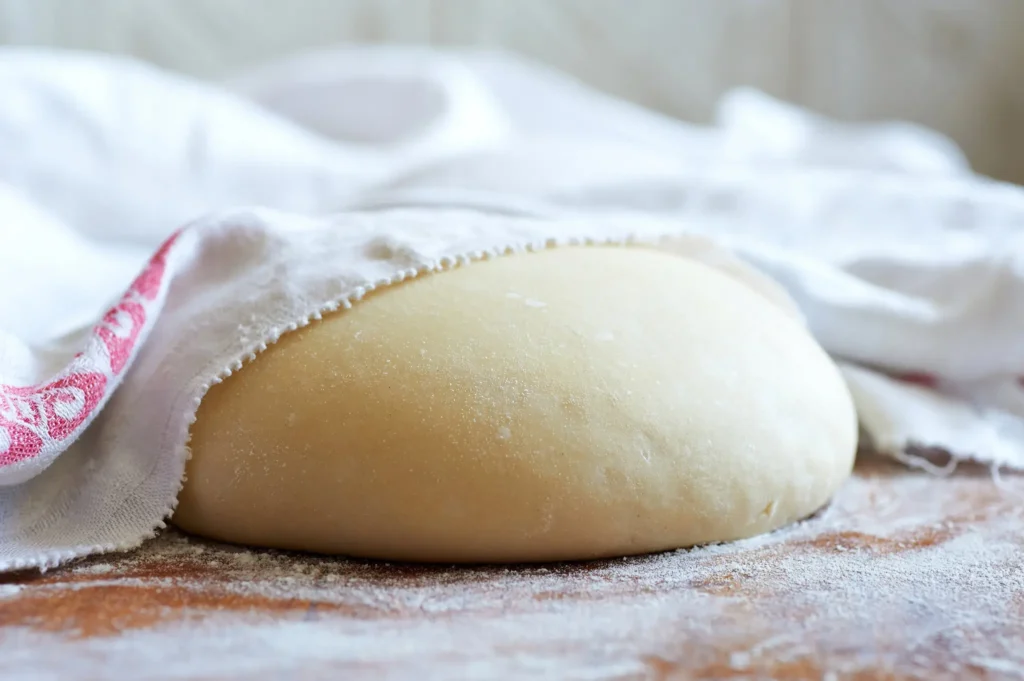
We put our pizza dough in the refrigerator to rise, placing the balls of dough on a floured baking pan covered loosely with a clean, damp kitchen towel. The chill leads to a slow rise, so we generally allow it to go overnight, or for at least six to eight hours. For a faster rise, leave the dough out on a countertop, similarly covered. It should be ready — that is, roughly doubled in size — in three or four hours.
Time imparts a marvelous tanginess to pizza dough, but it extracts a price as well. What you want to avoid is a skin developing on the dough. When the dough has risen, if you are not going to use it right away, wrap it tightly in plastic wrap, or place it in a quart-size plastic bag. Pizza dough so wrapped will last in the refrigerator for three days or so.
Another option is to freeze the dough using this incredibly easy freezer dough recipe. Make it, put it in the freezer in a freezer-safe plastic bag, and then move it to the refrigerator on the morning of the evening you want to cook.
If you end up making pizza at least once a week, consider investing in a few pizza dough pans, available in restaurant supply stores.
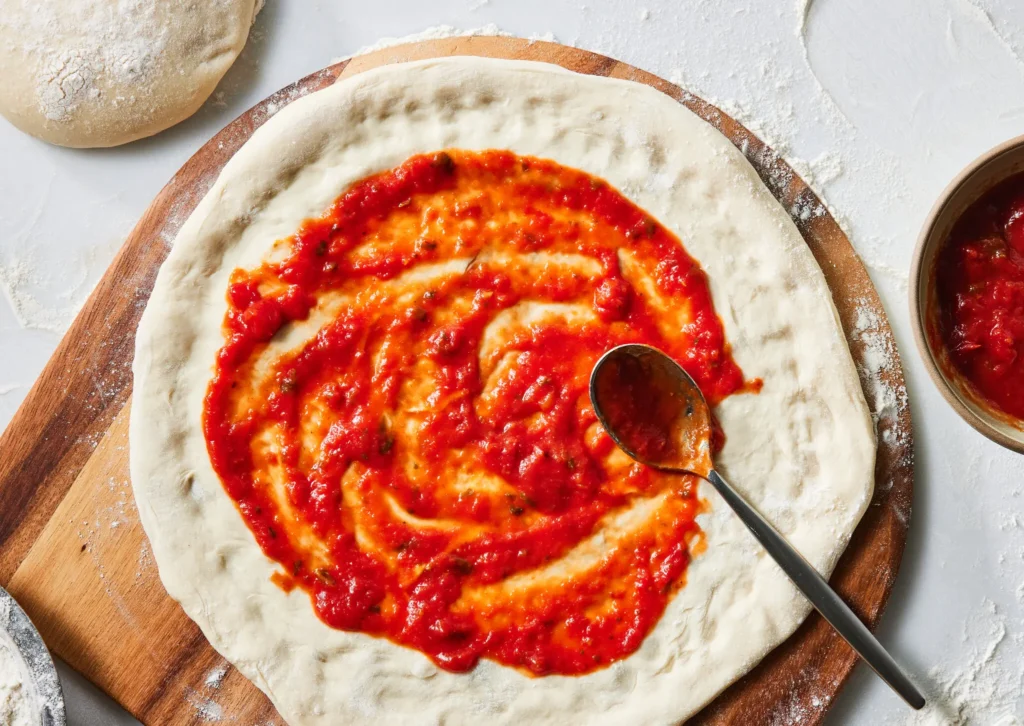
Shaping the Pizza
https://www.youtube.com/watch?v=9TjUWnAK0cg

Cooking a pizza on top of the stove is a simple way to get started in the pizza-making game, and a single ball of dough will yield two pan pizzas.
Simply heat a 10-inch cast-iron skillet over medium-high heat, then film it with olive oil. Take one half of a ball of risen pizza dough and press it out into a circle just smaller than the pan.
When the oil shimmers, put the dough in the pan and adjust the heat so it browns evenly without burning. Prick the dough all over with the tines of a fork. Cook this round in the pan for a minute or so, then turn it over with the bottom is browned and cover with toppings. Either top the pan with a lid to melt the cheese or run it under a broiler to achieve the same result.
Grilling Outdoors
https://www.youtube.com/watch?v=u-KDRmOYSb0
Grilling pizza really means grilling one side of a flatbread over fire, then turning it over and topping it. And while you can certainly use our essential pizza dough recipe to do that, a sturdier dough recipe that is less prone to ripping will yield a better result.
To cook a pizza on a grill requires some planning. You need to cook one side of the pizza before turning it over and topping it, and cooking the other side. So take time to assemble all the ingredients you’ll need to make the pizzas beforehand.
Prepare a hot fire; if your grill grate is clean, you shouldn’t need to oil it. Slide the pizza dough from the peel onto the rack. After a few minutes, use tongs to lift the dough and check whether it’s browning on the bottom. Watch closely so it doesn’t burn. When it’s nicely browned, use the tongs to flip the dough over, then brush it with olive oil and cover it with toppings. Place the lid on the grill for a few minutes more until the cheese is melted.