HomeMade breakfast Pizza Recipes
Pizza recipe with video – Learn to make pizza at home like a pro with these simple step by step instructions. This detailed post will help you make the best pizza which I am sure will be your family favorite. This pizza has a crisp, light & chewy base with great flavor (no overpowering smell of yeast!!). The sauce is amazingly delicious & aromatic. So this post covers everything from scratch – making the pizza dough, making the sauce and assembling the pizza.

Making a delicious and perfect cheesy pizza at home is much simpler than we think. There are numerous recipes online to make it but over the years this easy recipe has become our family favorite. Try this and you will never want to order a pizza again. You will be in love with your homemade pizza!!
During my initial days of learning I followed a basic recipe from Bob’s red mill for the pizza base which turned out to be good.
After making it time and again for many years this basic pizza recipe got a makeover. I learnt a lot of tricks & techniques to make the best at home with little effort. So I thought of updating this post with better and detailed instructions along with many tips.
About this recipe
This pizza recipe consists of 3 sections
- Making pizza dough – Get the secrets for a light, crisp, chewy and flavourful base without the overpowering smell of yeast.
- Making sauce – Pizza sauce made with real fresh tomatoes & herbs is so much tastier than the store bought bottled one and it does make a big difference to your homemade pizza.
- Assembling and baking the pizza – instructions to bake a perfect crisp and golden crust using a baking tray, pizza pan & pizza stone.
So what’s new in my updated pizza recipe?
Apart from the above, I have also shared how to make pizza dough with less yeast following the slow rise method. This also imparts more flavour & gives a better crust.
After I made this a lot of times I realized less yeast and longer rise is the secret to the most delicious & flavourful pizza crust. Plus it is healthier as the dough ferments longer and is easier to digest.
This is a very old post on the blog which has been tried and loved by many of you. So I haven’t changed a thing in this pizza recipe. Instead I have updated this slow rise method as an option in the instructions.
Preparation for pizza recipe
1. Bring yeast, flour and sugar (or maple syrup) to room temperature. I generally keep all of these out of the fridge an hour before making the dough.
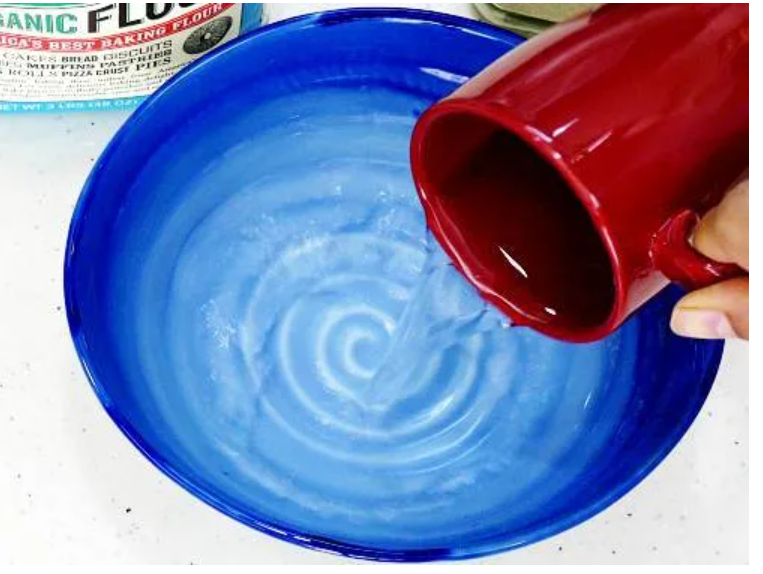
2. Firstly pour half cup luke warm water to a large mixing bowl. Dip your finger in the water to check if it is just warm & not hot. Hot water will kill the yeast and won’t let the pizza dough rise.
An ideal temperature of water is 40 to 43 C – 105 to 110 F. If you live in a very cold place, just warm up your bowl first. Next pour warm water.
Proof yeast
3. Add 1 teaspoon yeast (3 grams) to the warm water. You can use instant yeast or active yeast. More details in the tips section below. If you prefer to go with low yeast and let it rise slowly, then add only 1/3 teaspoon yeast (1 gram).

4. Add 1 teaspoon raw sugar or maple syrup. Avoid using refined white sugar.
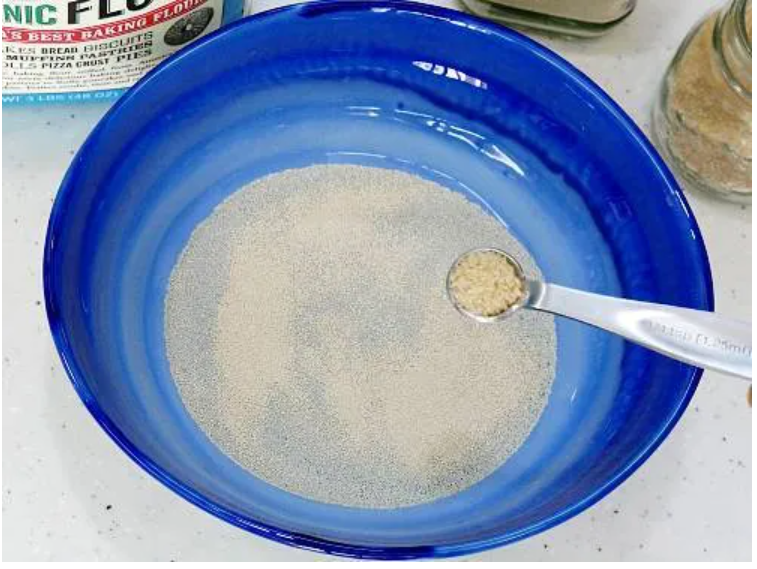
5. Stir it gently. Allow this to rest undisturbed for 10 to 12 minutes.
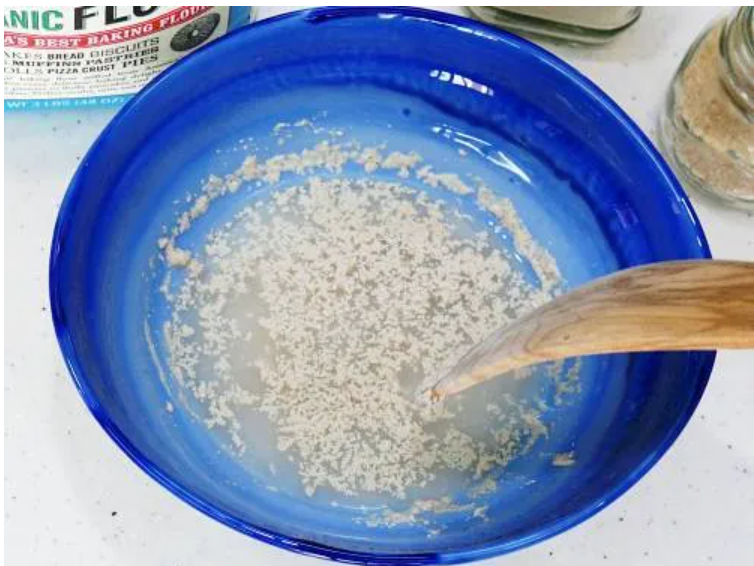
6. The mixture must turn frothy and bubbly. With instant yeast it won’t turn very frothy but will still froth to a minimum and you can see the yeast bubbling up.
If you fail to get a frothy mixture, do not proceed further with this yeast. It is inactive. So just discard this. Start again with fresh warm water, yeast and sugar. Repeat the steps from 1 to 4.
Make Pizza Dough
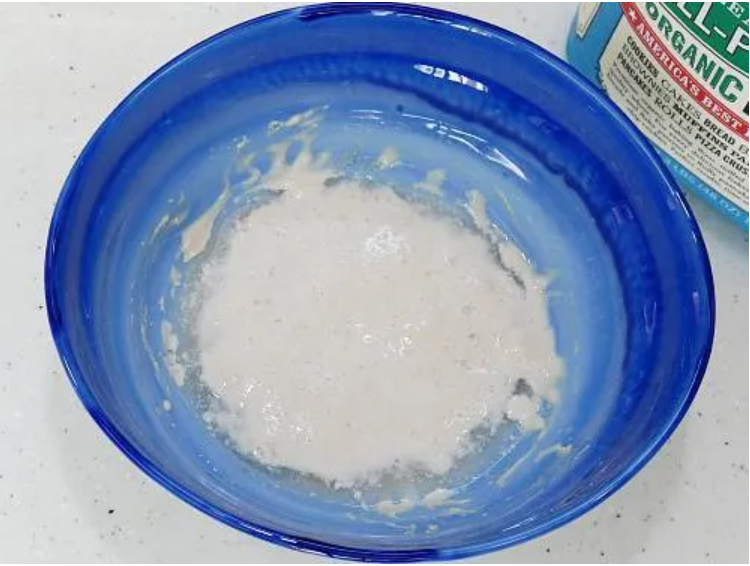
7. When the yeast turns frothy, add 2½ cups flour (300 grams), ⅓ teaspoon salt and 1½ tablespoon olive oil to the mixing bowl. Here I have used organic unbleached all-purpose flour. You can also use 1 cup all-purpose flour and 1½ cup fine wheat flour.
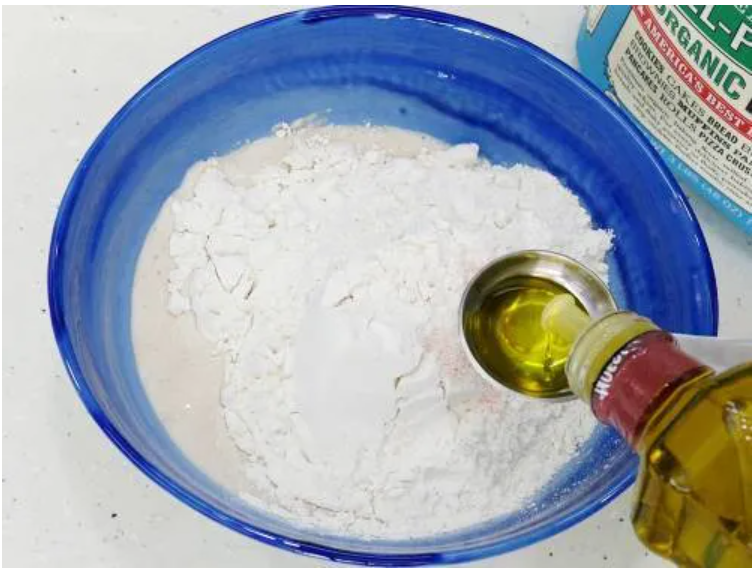
8. Mix all of them to form a dough. You will need more water (about 2 to 3 tbsps) so add accordingly a little at a time until it forms a smooth and soft non-sticky dough. If the dough is sticky then you may sprinkle some flour.
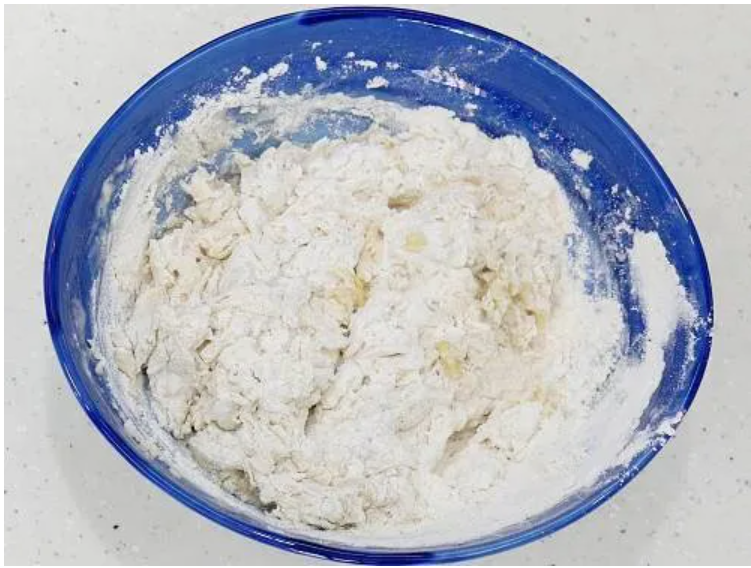
9. Knead the dough for 5 mins. Use the heel of your hand to press down the dough against the kitchen counter/worktop and roll the pizza dough across. Next fold it. Repeat this for a 4 to 5 minutes. At the end pizza dough should be soft and when you poke it with your finger, it should dent and bounce back slowly. This is the indication of the dough being ready.
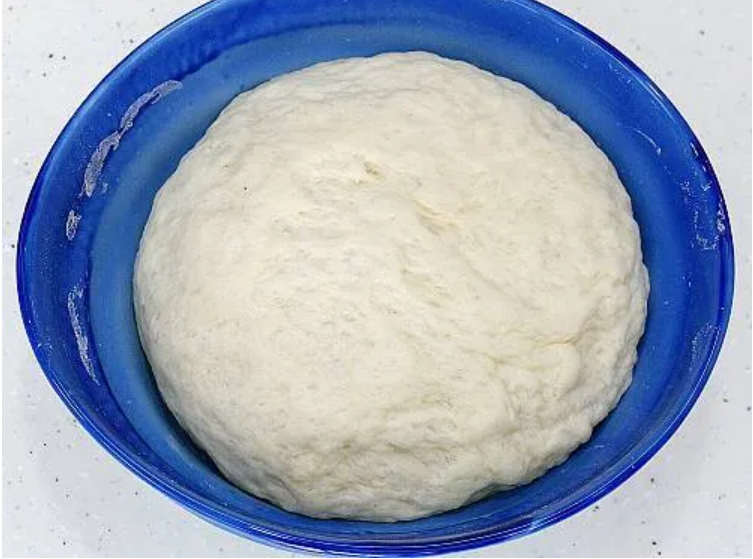
Proofing Dough
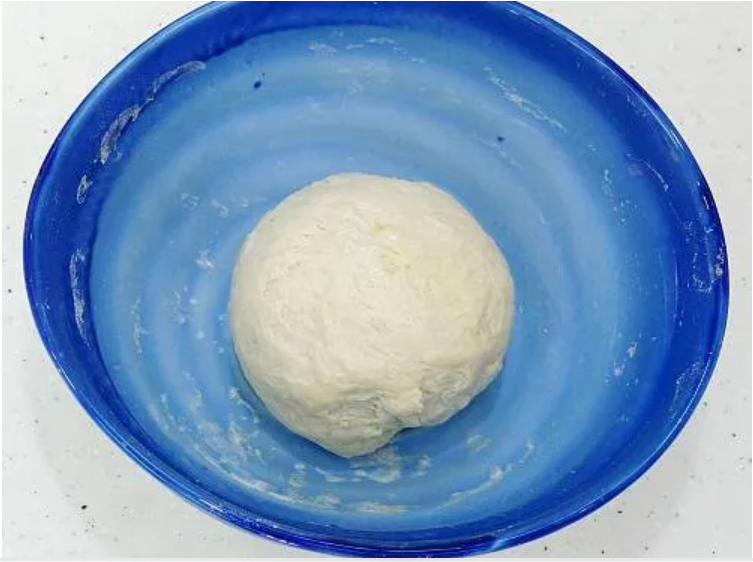
10. Shape it to form a ball and apply a thin layer of oil to prevent the dough from drying up. Also grease your bowl with some oil.
11. Cover the bowl with a moist napkin or lid. Rest at room temperature until the dough rises and doubles in size. An ideal temperature for rising dough is 26 C (80 F) to 32 C (90 F).
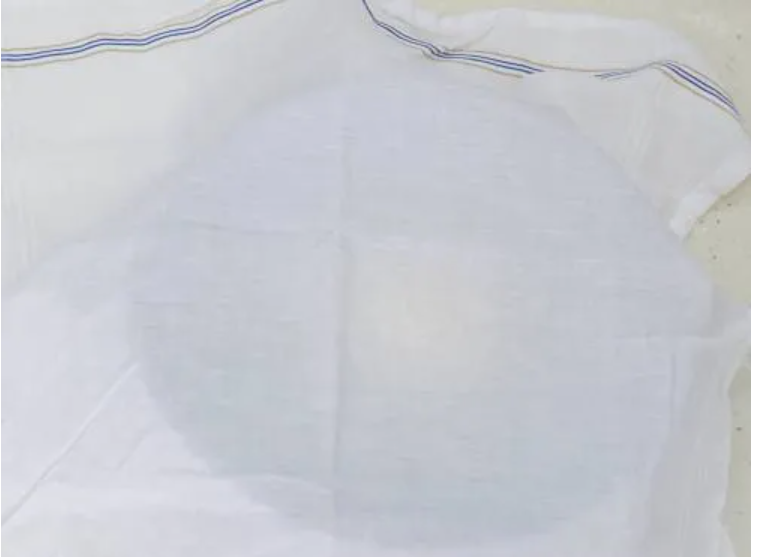
Depending on the temperature, the dough may take anywhere from 1 to 4 hours. I advise not to go by timings but to let it double in size.
With low yeast, I let it proof for about 8 hours near the window avoiding direct sun. During colder days, leave it overnight in a warm place.
If you live in a cold country, then you can proof the dough in the instant pot with yogurt settings (LOW).
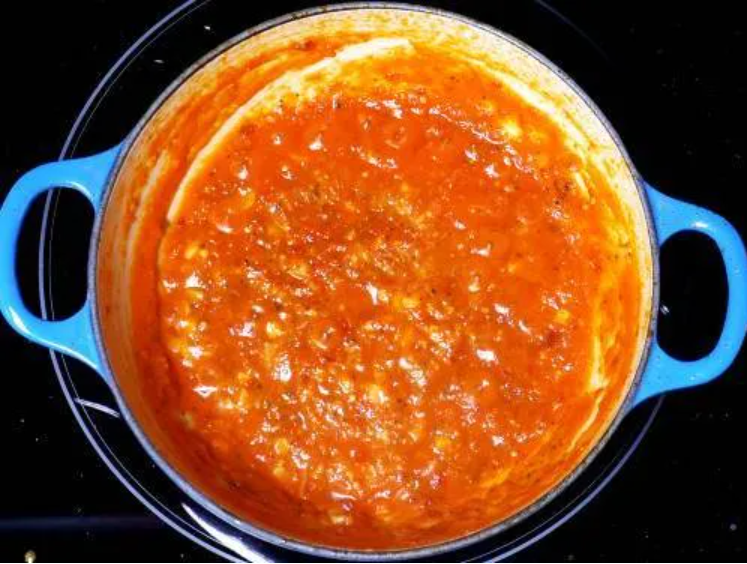
Make Pizza Sauce
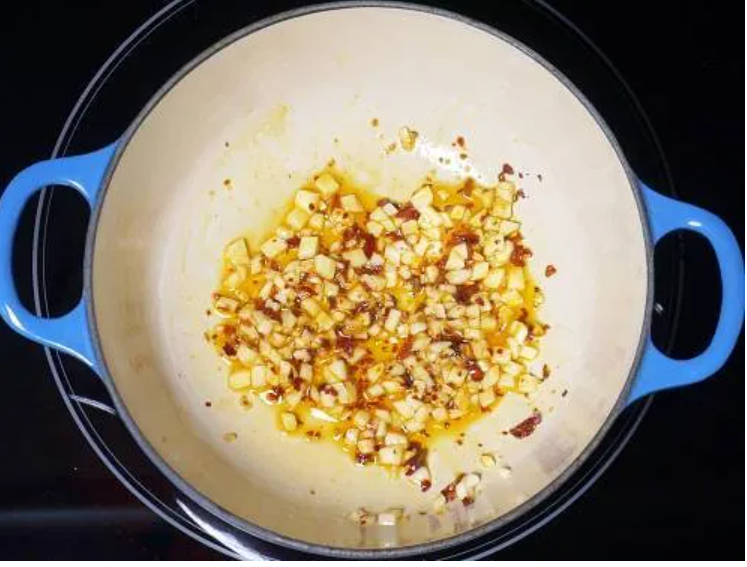
12. To begin with puree 400 to 500 grams of tomatoes in a blender. Heat 1 ½ tablespoons oil in a pan and add 2 finely chopped garlic cloves (about a tablespoon). Fry the garlic a bit until a nice aroma comes out for a minute. Then add 1 teaspoon red chilli flakes.
13. Pour the tomato puree. Add ¼ teaspoon salt and 1 teaspoon sugar. Give a good stir.
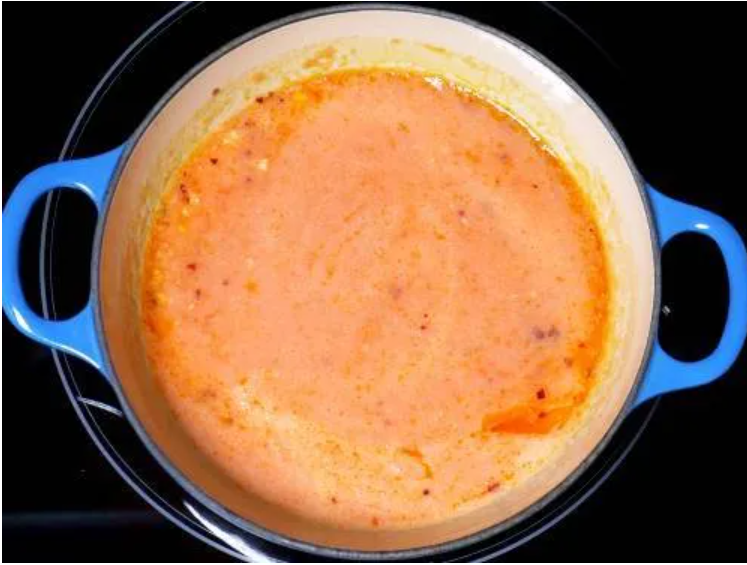
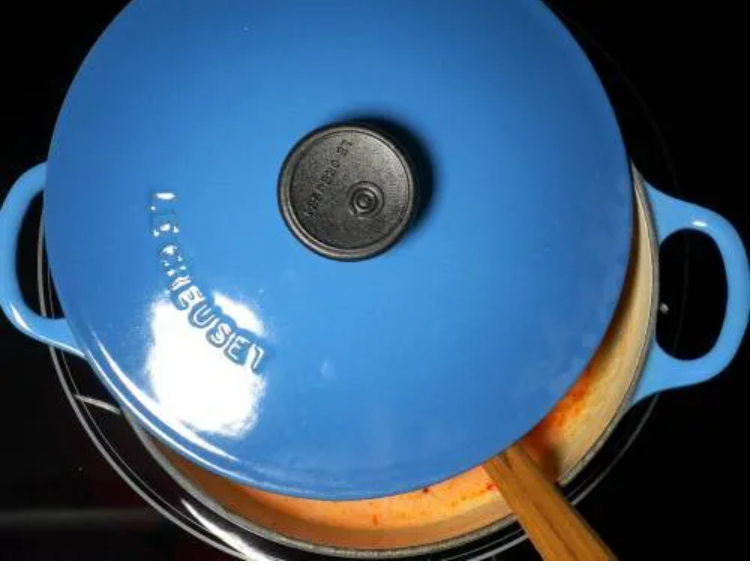
14. Cover the pot partially and simmer until the tomatoes cook down and reduce to a thick consistency. Be careful at this stage as the puree splashes a lot. Occasionally reduce the flame and give a good mix.
15. When the mixture thickens to a sauce like consistency, add 1 teaspoon Italian herbs and ½ teaspoon crushed pepper. Taste test this and add more herbs, pepper or salt as needed.
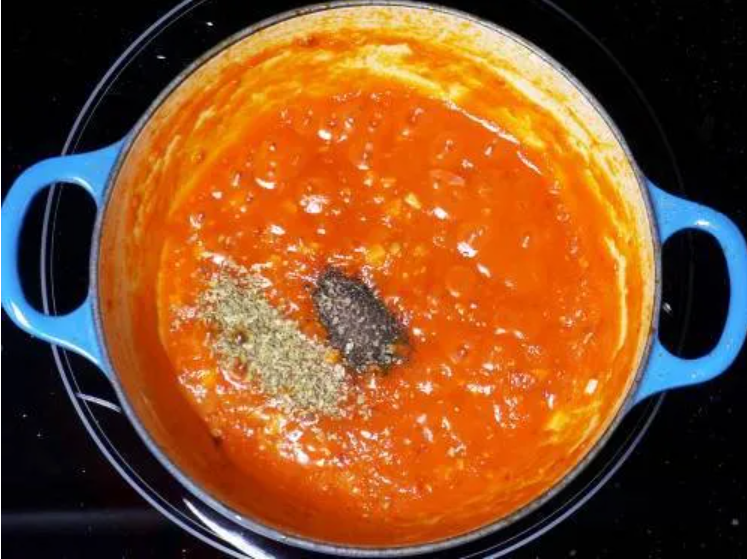
16. The consistency of the sauce has to be thick and of spreading consistency. It should not be runny otherwise the pizza will be soggy and wet beneath the cheese. Cool this completely and transfer to a jar if using it later.
pREPARE VEGGIES
17. When you are ready to make the pizza, prepare the veggies & grate the cheese. We prefer only onions, lots of bell peppers, mushrooms and olives. You can use whatever veggies you prefer.
Keep the veggies at room temperature for a few hours so they don’t let out moisture on the pizza making it soggy. If using bottled olives drain them to a small strainer.
How To make Pizza(thin crust)
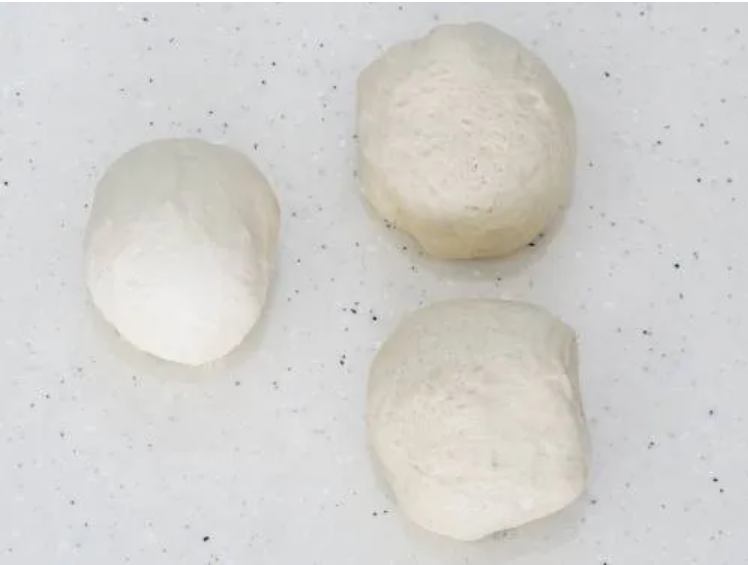
18. When the pizza dough doubles in size, it will look like this. With longer proofing the dough will have lots of air pockets and will rise more.
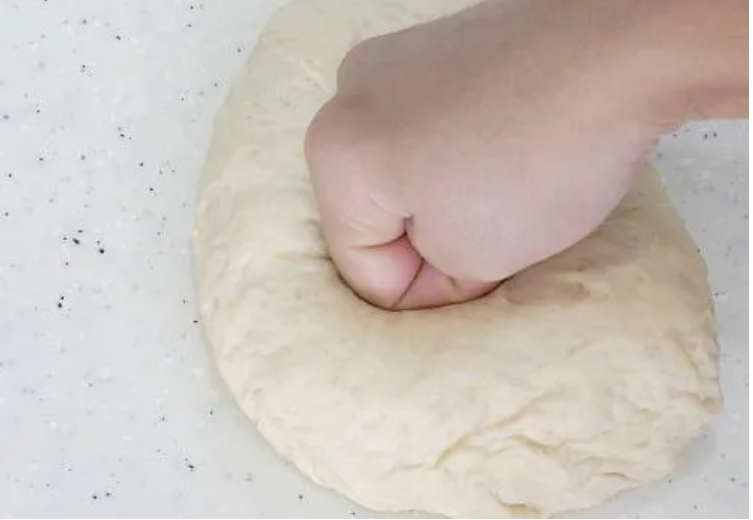
19. Transfer it to the work surface & punch it down to deflate and remove the air bubbles.
20. Divide to 2 to 3 parts depending on the size you prefer.
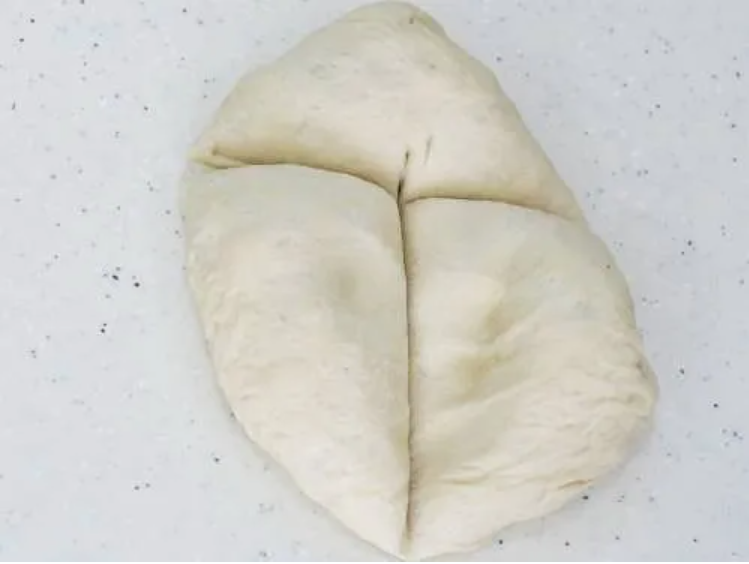
21. Knead a bit and shape them to round balls. If the dough is too sticky then sprinkle some flour & knead. I made one 9 inch thin crust and then two 6 inch thick crust pizzas. Alternately you can make three 9 inch thin crust or a single 14 inch thin crust pizza with this recipe.
I made one pizza the same day and refrigerated the rest for the subsequent days. Just wrapped it in a cling wrap and put it in the fridge.
The flavor of the yeast dough gets much better with cold fermentation as it ages in the fridge. This keeps good for 3 days. To use the refrigerated dough let it to come down to room temperature before using. This may take 2 to 4 hours depending on where you live.
22. When you see the dough has relaxed and is ready to be stretched, preheat the oven to the highest temperature, 220 to 240 C or 470F for at least 25 to 30 mins. Place a baking tray or a cast iron pan in the middle rack and heat it as well in the oven. This baking tray/cast iron pan will help to achieve a golden and crisp pizza crust. To use a pizza stone refer the faqs below.
If the dough is too sticky then sprinkle some flour & knead.
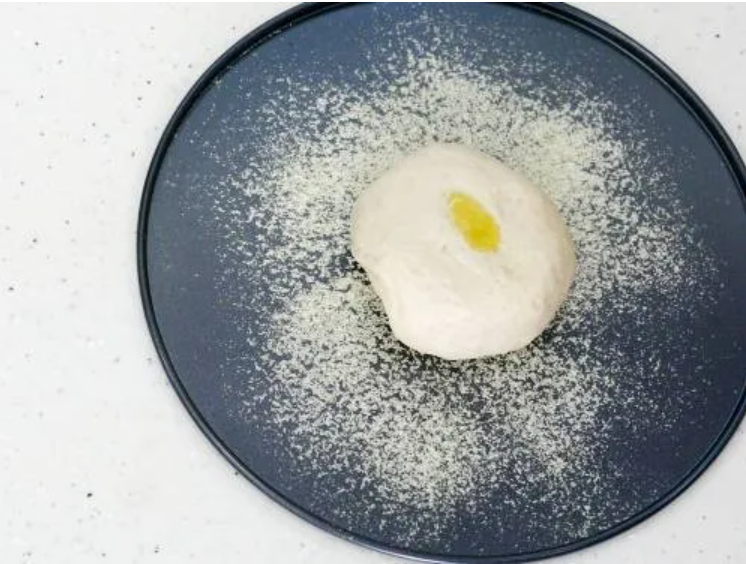
23. Sprinkle some cornmeal evenly on a tray. Place a dough ball and flatten it with your fingers. Add few drops of oil.
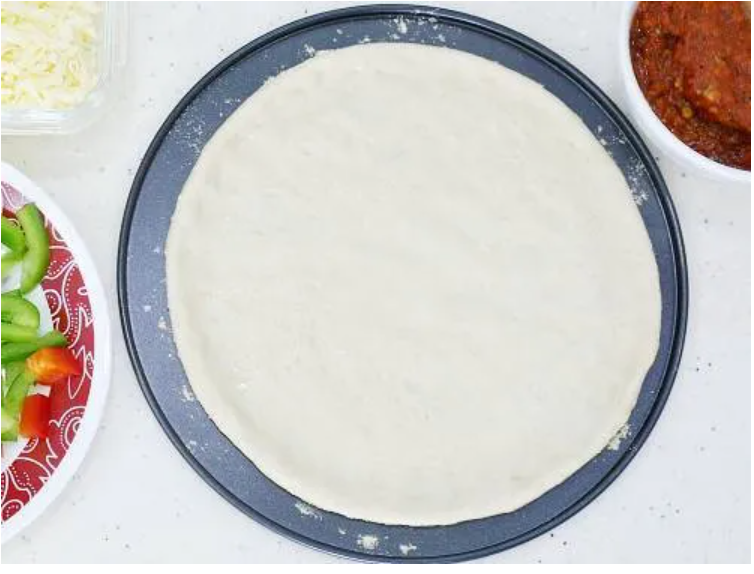
Begin to spread and stretch the dough on the tray with your fingers. Flatten to a 9 inch thin even base. Keep the edges slightly thicker than the centre. I do not use a rolling pin as sometimes the pizza base turns out dense as the rolling pin deflates the air bubbles.
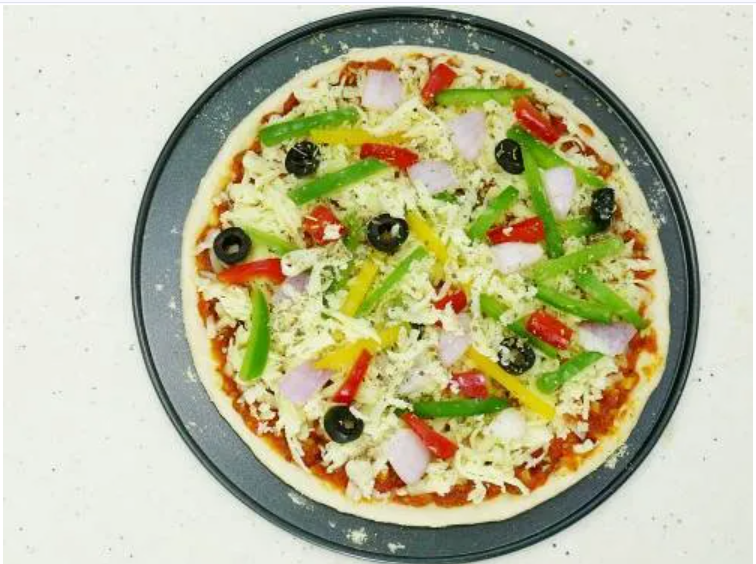
24. Next spread pizza sauce as desired.
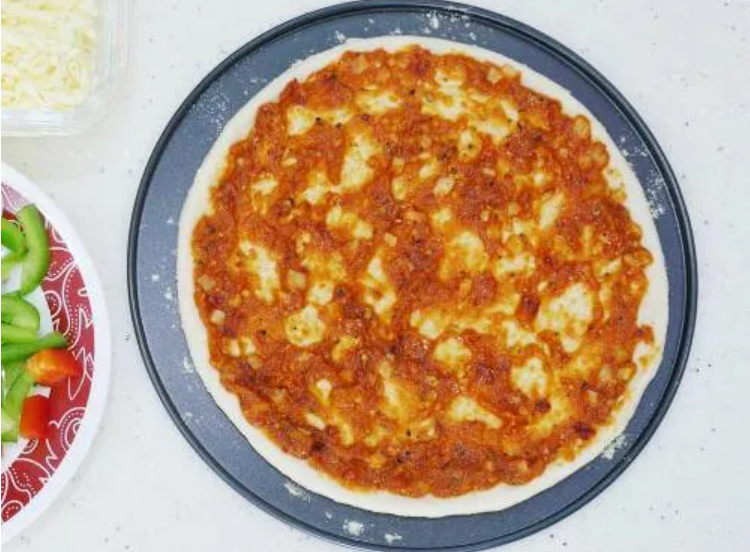
25. Lastly layer grated cheese. Then layer the veggies of your choice. Add more cheese on top avoiding the veggies. Sprinkle Italian herbs and chili flakes as preferred.
26. Transfer the pizza tray to the oven. Place it right over the hot baking tray/ cast iron pan in the preheated oven. Bake it for 8 to 10 minutes or until the cheese melts and the crust becomes golden and crisp. Adjust the baking time as needed.
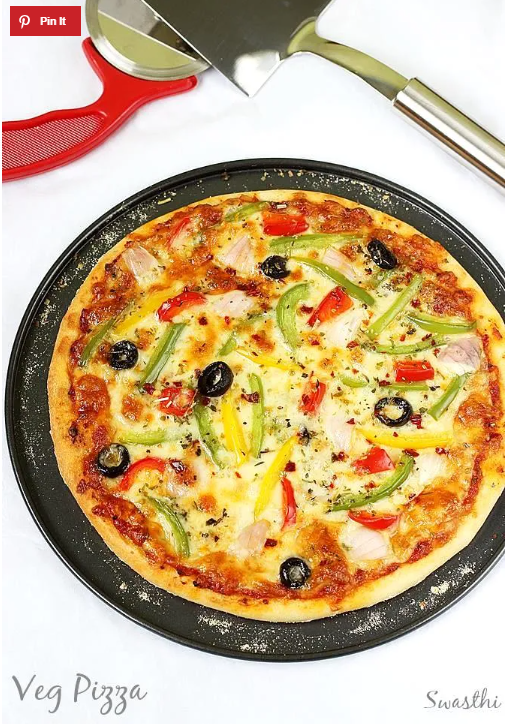
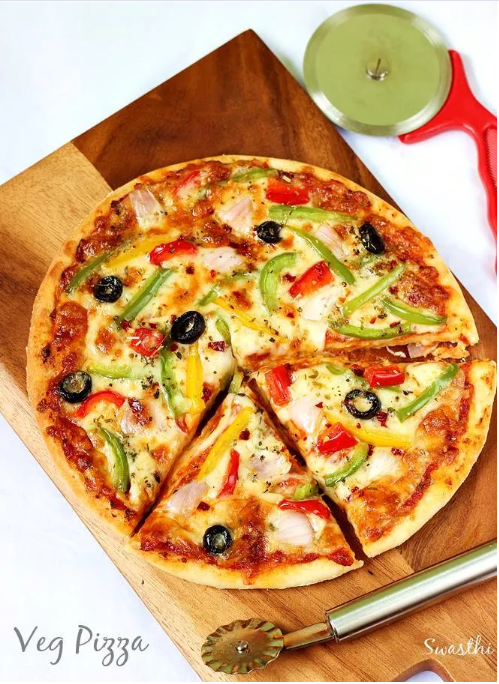
Let the temperature come down a bit and then slice it. Serve hot.
Home is where the flavor stays, In Simple Joys and Pizza days. Slice By Slice, we come together, To share a Good Food, Now and Forever.🍕